Class Lists
To access Class lists go to Students > Class Lists. Select the required year level from the Year level dropdown.
How Class Lists Works
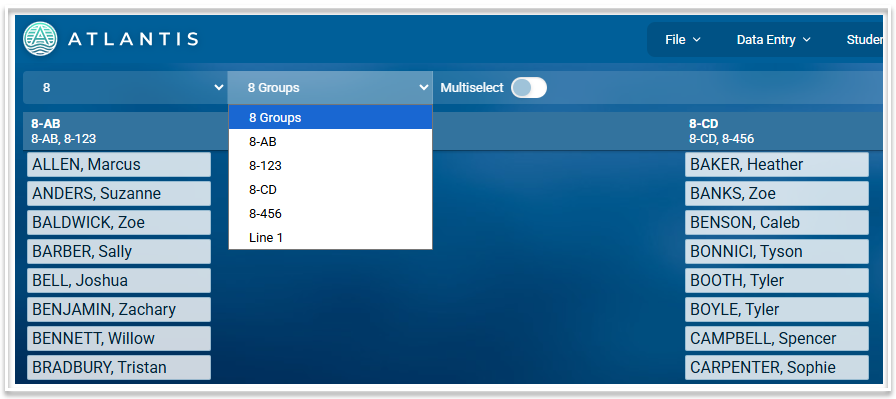
Class lists are based on the defined structures for the selected year level. The second dropdown list contains the structures within the selected year level. You will need to work from the top structure down. Students will not appear in the unassigned column until they have been assigned to the parent structure first. Therefore you're encouraged to work from the top of the dropdown list down, ensuring at each stage that all students have been assigned somewhere.
Here is an example of a simple Year 8 structure where the parent level is called 'Groups'. This top level divides students into two bands AB and CD. Students must firstly be assigned to a band. They can then be assigned to the classes within that band.
A vertical structure, for example Line 1 below, does not require students to be in bands before allocating them to classes within that structure.
How to use the Class List Screen.
- Students can be allocated automatically by using the 'Assign' button on the toolbar.
- Manual allocation involves dragging and dropping students from one column to another.
- The Multiselect toggle allows multiple students to be selected and dragged to the required class. Use a 'shift-click' action to select a range of students within a column.
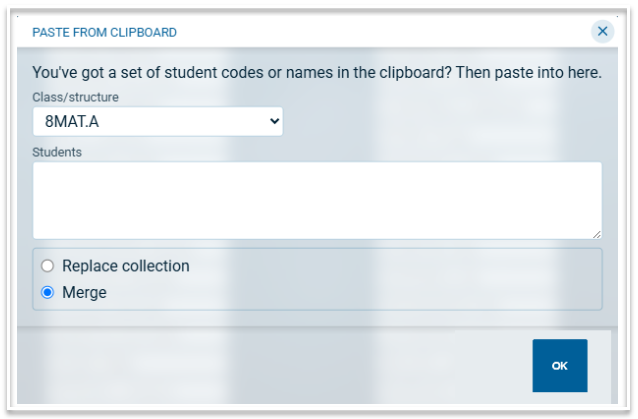
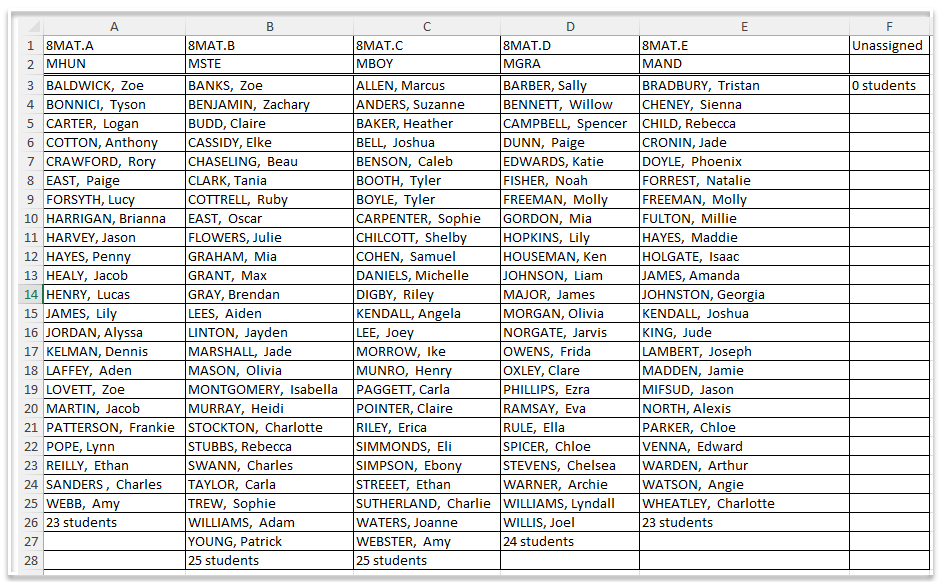
- Class lists can be copied from an external source, e.g. an excel file, and pasted in to the relevant class. Using the 'Paste' button will open this dialog: Paste the copied class list into the Students area then click Ok.
- The code of the teacher assigned to a class is displayed beneath the class code.
- The total number of students is displayed at the foot of each column
- The "Clear' button can be used to move all students back to the unassigned column
- Related screens (Students, Edit Enrolments and Structure) can be accessed via the links in the footer.
- The Export button can be used to export the displayed class lists to Excel.